Friday 31 January 2014

The First Of My Boudoir Bathroom Picture Frame!

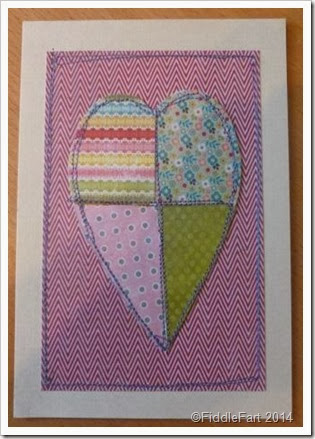
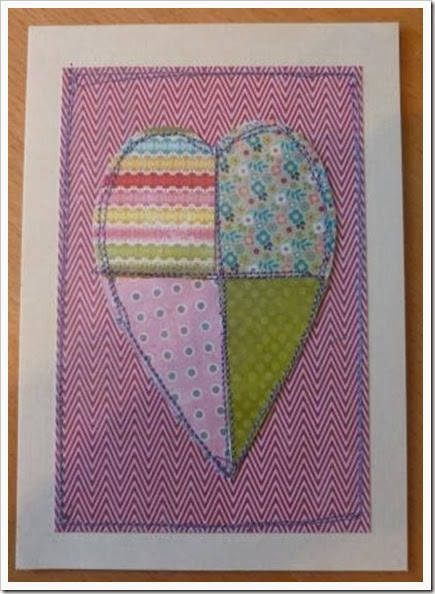
framed machine sewn paper heart I have made a start on the framed paper collages I want for the walls of my “boudoir bathroom.  It was a tricky affair, but hopefully with this first one under my belt, the rest will get easier …. famous last words!
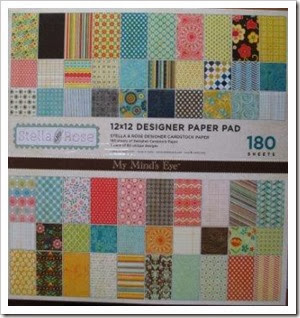
Poundshop frames_thumb[2]My Minds Eye, Stella and Rose 12 x 12 Designer Paper Pad 180 pages
I got the frames, in three different sizes  from Poundland which will hopefully be a good match for the mirror I have finally bought from Amazon. I can’t actually believe that I have seen the exact same frames on e-bay selling for some very silly prices, and I mean silly!  Whatever size I bought, I only paid £1.
I will be using the some of the papers from The My Minds Eye Stella and Rose 180 page paper pad that I used for the bath panel, however as the patterns have been scaled up for 12 x 12 papers, which are best suited for the scale of the bath panel, some are a little too big for the scale of the frames, so I shall also be using  pages/scraps leftover from my 6 x 6 paper pads, which will look a little more balanced.
machine sewing paper patchwork heartsmachine sewn paper heart
Anyway, I started with a 7” x 5” frame first. I cut a plain piece of cream card to act as a border for the "patchwork", followed by a piece of patterned paper measuring 6” x 4” for the background, centering them and holding them in place with double sided tape.  I then made a heart template, cutting it into four sections to create the patchwork effect, again positioning them with more double sided tape. Now, I am no shakes on a sewing machine, which is really quite fortunate as I wanted a shabby effect, and with my wobbly lines that’s exactly what I got!
machine sewn paper heart
Positioning the finished patchwork centrally in the frame was not as easy as I had anticipated, however again it was nothing that a little tape couldn’t fix ……. eventually!
So there’s number one frame done ….. I have eight/nine to go as I am going for a cluster effect, hopefully as I get more confident, the patchworks will become a more detailed ….. I would like my next one to be of a bird or a house …. soooooo very, very twee!!!

Thursday 30 January 2014

My Las Vegas Scrapbook …….. Fulfilling One Of The Duke’s Dreams

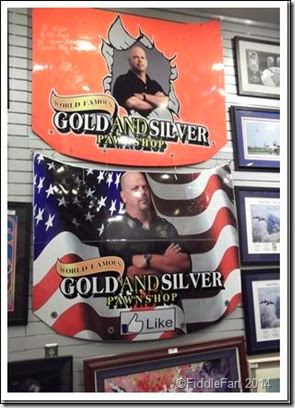
Pawn Stars 1Pawn Stars 2
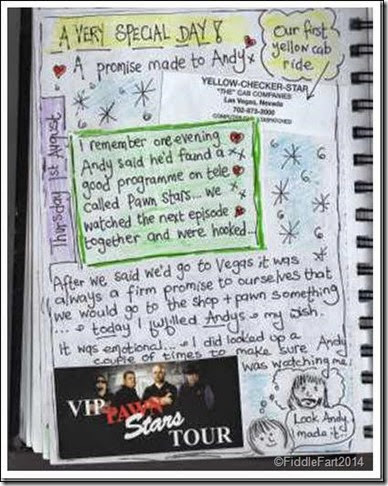
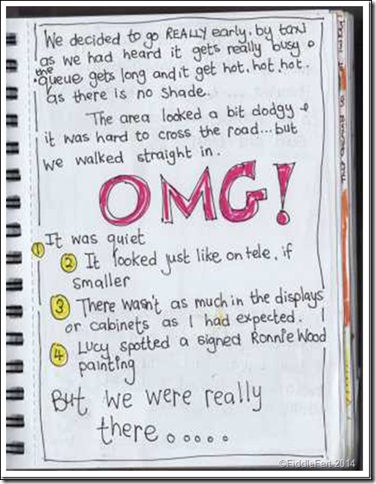
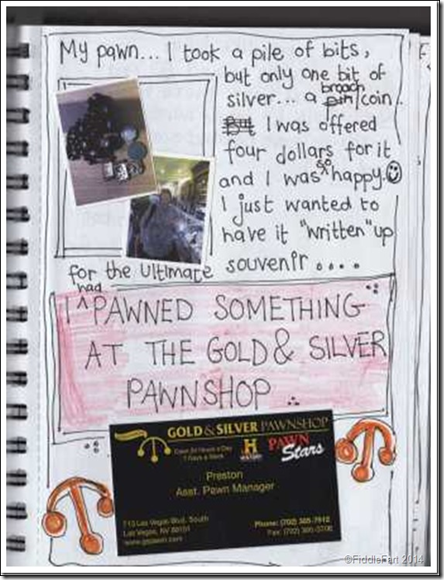
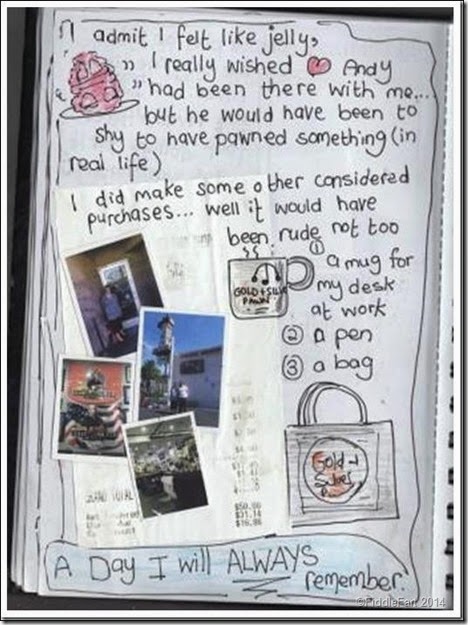
I am hoping that the pages from my Las Vegas scrapbook/journal will do the talking for this post …… but I am also adding a little of the background history to the story ……..
Pawn Stars 3
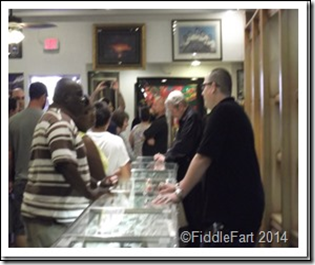
One of The Dukes very, very favourite programmes on TV was Pawn Stars, I remember when he first discovered it ….. and the next evening excitedly telling me that he had found this brilliant programme, that I would love. 
Picture31Picture32
After that, whenever it was on, it was our time to stop everything, make a coffee and sit down to watch together.  And then, when we started planning our trip to Las Vegas, visiting the shop and taking something to pawn became one of our dreams, and we would talk about it sooooooo often.
Las Vegas scrapbook
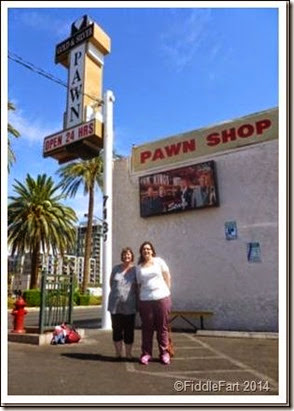
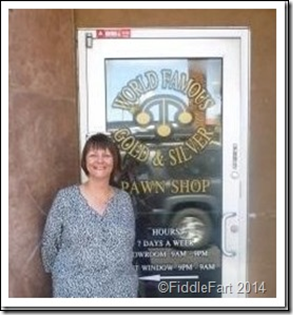
Sadly, The Duke didn’t get to live his dream, but as soon as Lucy’s and my tickets to Las Vegas were bought I was determined that within a few days of our arrival, and before visits to the Grand Canyon etc. I would go to World Famous Gold & Silver Pawn Shop to fulfil that dream for him.
Las Vegas scrapbook.1
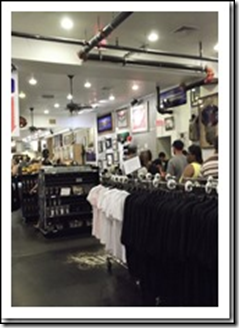
However, when I mentioned my plan to the hotel reps. everyone told me that there would be queues round the block, with hours of waiting in the blazing heat without shade and once I got in the chances of meeting anyone from the series was almost nil …….. 
Las Vegas scrapbook. 2
……. but I was determined that NOTHING was going to stop me! I still get emotional thinking about it,  looking at these pages and at the photos
Las Vegas scrapbook. 3
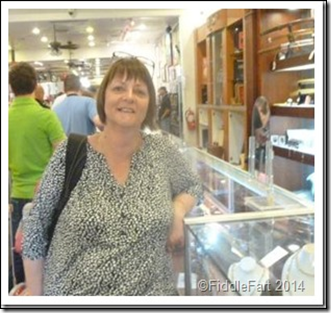
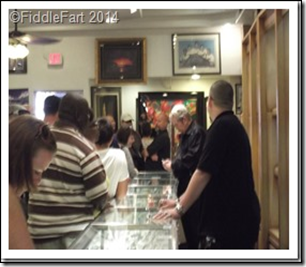
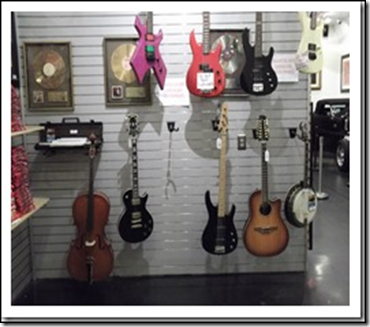
It really was quite a day …… and over the past year or so I have learnt to soak up every single moment from every new experience, so that just thinking about it all now, I can still hear the peoples voices and the whirr of the fan above me,  ….
Las Vegas scrapbook. 4
…….  and feel the cool breeze that it gave, I can still smell the smells, and remember exactly how I felt in my skin  ….. it was a lot to take in ….. but it’s all still there in my heart and my soul, as if it was yesterday.
Picture33Picture34
  In away it was hard to open the door and walk out, leaving the dream behind, knowing that I probably would never return, but that I’d fulfilled a dream for both of us …. but I had a funny sort of spooky feeling that as I left, the Duke was still happy mooching around and said “You go ahead if you want, I’ll catch you up in a bit ….. ” just like he always did……………
Picture35Picture36
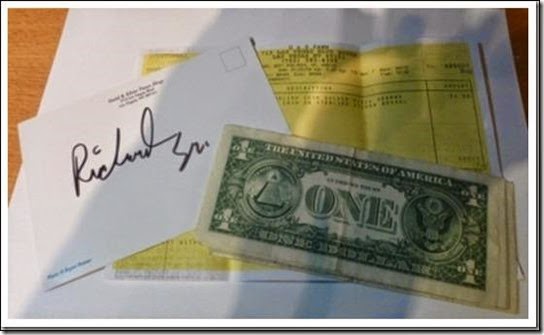
I have my pawn ticket, my four dollar bills and the postcard signed for me by “The Old Man” all put very safe.
Pawn Stars 4
….. however in the next couple of weeks I am planning on getting it all put in a deep frame to hang in my re-vamped kitchen, a bitter sweet but happy memory ….. with me punching in the air.
Pawn Stars 5

Wednesday 29 January 2014

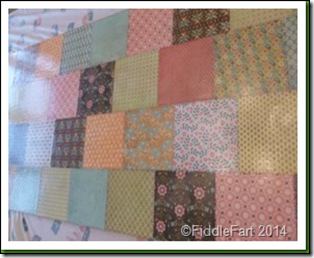
My Bespoke Bath Panel!!

I know that this isn’t to everyone’s taste, but I wanted my “new” bathroom to be special, girlie and me! I am, by habit, a shower girl, partly because the bathroom was looking decidedly tatty and not convivial to taking long baths ….. but I know a long soak would help me to relax more ….. and so I thought, if I had a bathroom that was more “romantic”,  I would use it more and therefore be more relaxed ……
So with the plain white tiles, floor tiles, basin and loo are on  order, (I am keeping the bath), my part was to “fiddlefart” the MDF bath panel ready for the big push.
Bespoke Bath Panel
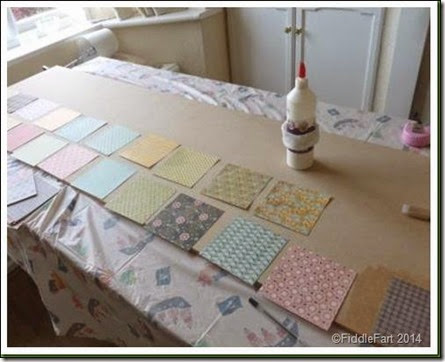
It took a while for me to work out the size patchwork square needed to be, maths not being my forte.  In the end they worked out to be 4.75 inches by 4.75 inches, made from 12” x 12” sheets of my favourite papers of all time, My Mind’s Eye, Stella and Rose.  The floor tiles  are  a light grey and all the patterns I selected have a grey element in them.
Bespoke Bath Panel. 2
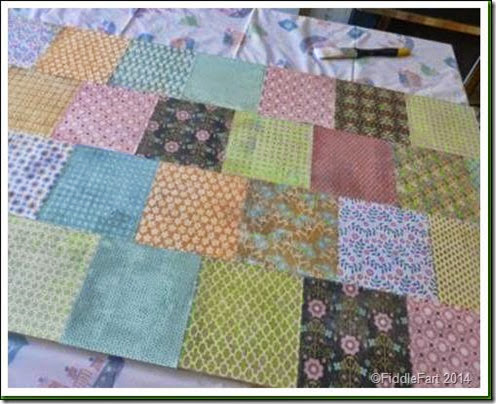
The gluing, using PVA took me about 3/4 of an hour to complete and I was so thrilled that there wasn’t a wrinkle in sight and everything fitted together beautifully, nothing was out of kilter, which is very unusual for me!
Bespoke Bath Panel. 3
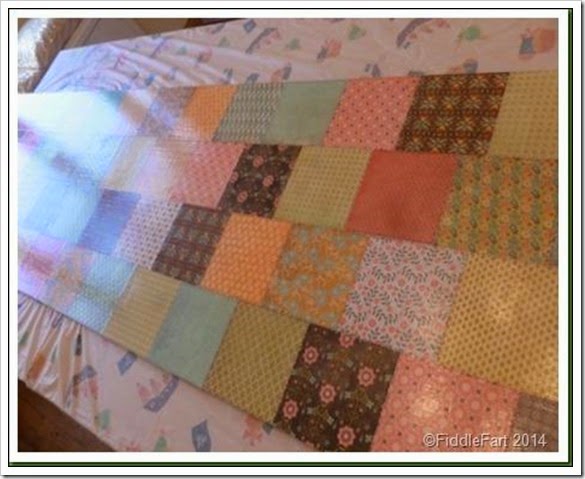
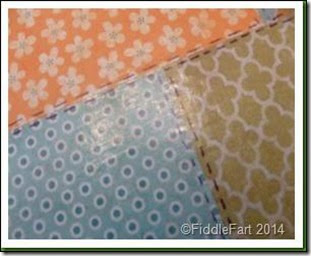
Then followed coat after coat of quick drying, clear satin finish varnish (Wilkos), I forget how many coats, but as the panel is going into a damp environment I didn’t want to risk it going soggy, so my reasoning was the more coats the better.
Bespoke Bath Panel.4Bespoke Bath Panel. 5
And then, before the final few coats of varnish,  can you believe, I went round each patch with a black pen putting in faux stitching to add a little definition ….. I just couldn’t resist it!
So that’s the main panel done, next weekend will be spent doing exactly the same thing but for the much smaller end panel. I think/hope it’s going to look OK …. but only time will tell!

Monday 27 January 2014

No Crafts Today …… How Did I Get To Be 56?

I decided that after the success of my bijoux soirees during the past year that it would be rude not to have another one on my birthday!!!
I must be totally mad as it came slap bang in the middle of what had been and will be a very busy six weeks or so house wise …….
Picture39
……. but hey …. you are only young once!!
Picture41Picture42Picture50
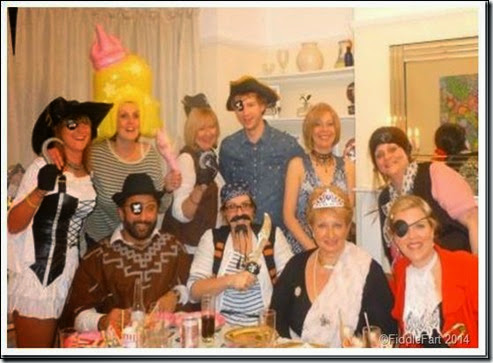
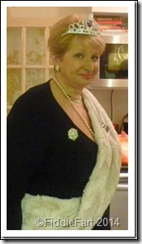
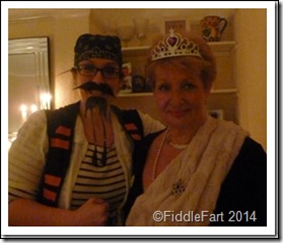
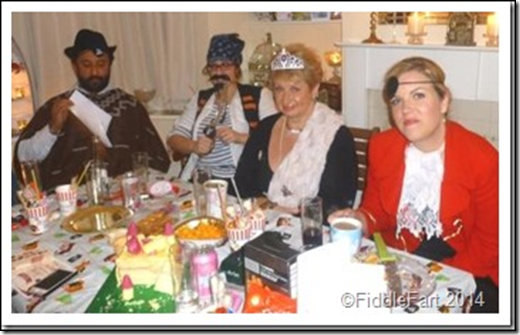
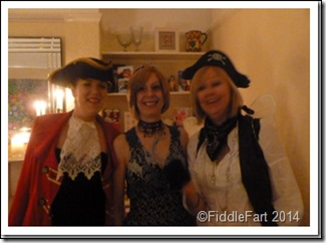
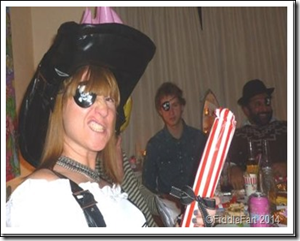
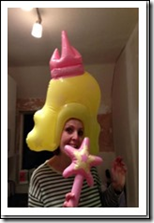
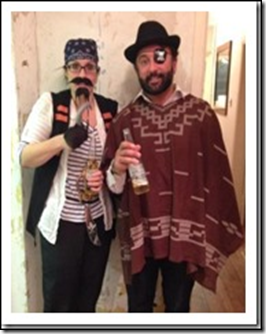
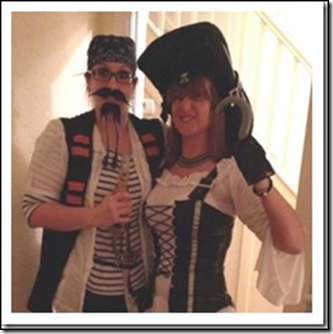
I decided to have a theme ….. Pirates and Princesses, which everyone totally embraced ….
Picture43
….. I was only intending on wearing a tiara and a few beads, but when I got wind of much covert whisperings and e-bay bidding, I realised that I would have to up my game and became a pirate princess galley slave….. a sort of Piratical Cinderella!!!
Picture47Picture48
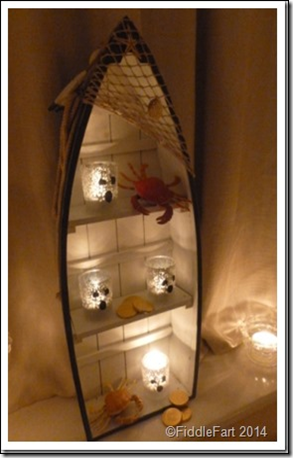
The Poundshop came up trumps with a range of both pirate and princess tableware, and I filled the room with candlelight for a pirate and princess ambiance, using bits and pieces that I had squirrelled away ….. like my faithful seagull!  I also made everyone a pirate cup of treasure containing all sorts of tut from skull lollies to chocolate coins and glow sticks.
Picture49Picture45
Everyone bought a “crap” pound present, which were then all put in a pirate swag sack for everyone to take an erm….. hilarious “lucky dip” from during the proceedings.  We feasted on hot pork or beef baps with stuffing and gravy and sauces ….. hearty pirate finger food, which I think some of the daintier princesses struggled with!!!!
Picture40Picture44Picture52
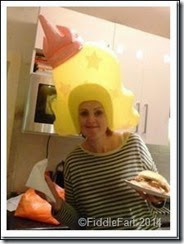
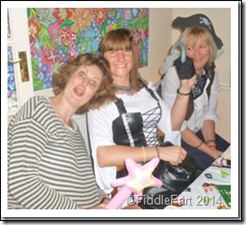
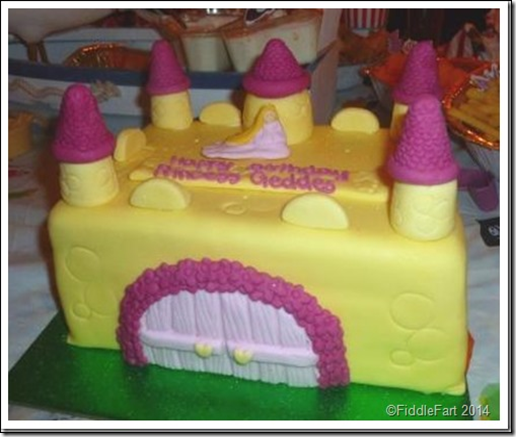
And then to top it all my friends Steph and Becks had arranged a Princess cake!!!!! It was a wonderful night filled with so much loud, raucous laughter I am surprised the neighbours didn’t come round to complain ….. and I felt very blessed in a Hello Magazine way that I have such a wonderful band of friends who are soooo rude, and funny and soooooo very special!
Picture51
I can’t thank them enough …. and as Adam, the young man in the blue shirt would say ……  “You guys are hilarious”!!!!!!!!!!!!!!
Picture54Picture53
And my next soiree? ….. Everyone loved their pirate outfits so much they want to keep on wearing them …… so I am thinking along a fusion Pirates Meet The Easter Bunny theme!!!!!!

Saturday 25 January 2014

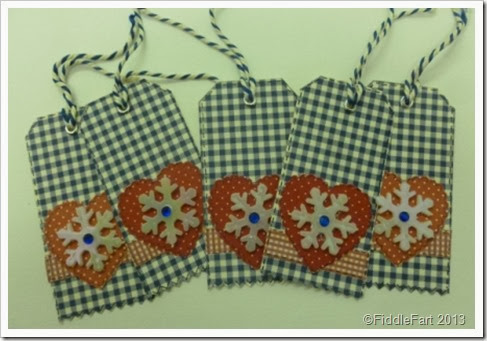
Christmas 2014 - Blue Gingham Christmas Tags

These tags measure approximately 10cm x 5cm and are made using a navy blue gingham card from Payper Box.
Blue Gingham Christmas Gift TagsI love gingham, so shabby chic …… and the way I think I am going, Christmas 2014 is going to be a shabby chic affair, if I dare plan that far ahead?!!!
I’ve hand cut the tags, using pinking shears to trim the bottom, then used scraps of similar style paper to punch out the scalloped edged hearts and background.  The plastic snow flakes are from a garland found in a charity shop a while back, with a blue flat backed gem in the centre. The whole design is then tied together with a ample sufficiency of faux stitching in black fine liner pen.
blue gingham snowflake gift tagsI have set a silver eyelet for the thread, which always makes a tag look that extra bit professional. I am thrilled with the result, however if I were to change anything, and I probably will, I think the tags would look better with either a plain red or red and white butchers twine, and that’s easy to fix.

Tuesday 21 January 2014

My Jewelled Bathroom Mirror

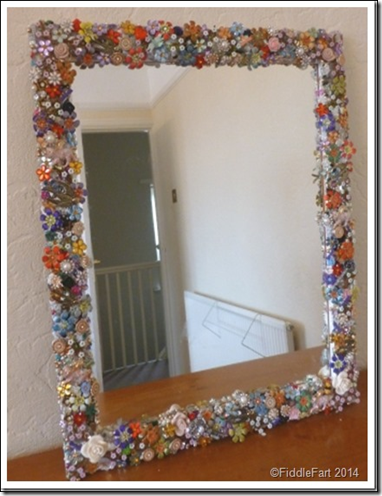
My bathroom mirror is finally done and ready to hang (when the bathroom is finished in mid February)  ……. all I can say is a mahooooosive hip, hip, hurray because it was a bit of a “b” to do!!!!! ….
jewelled mirror
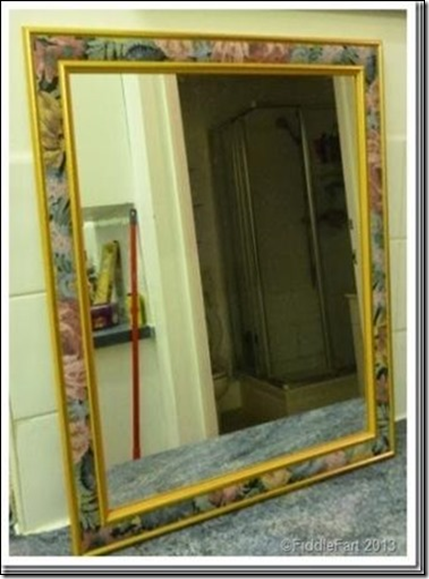
The mirror itself may have been a bargain at £6 because it was solid and had a good bit of weight to it, but  then I had second thoughts about the gold edges and patterned frame that first attracted me to it, mainly because of the white and silver colour theme of the planned bathroom, and so in the end it got sprayed white to create a blank canvas  …… doh !!!!!!
Picture20
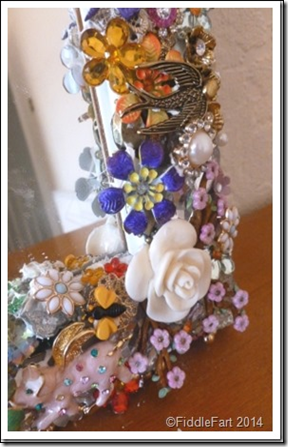
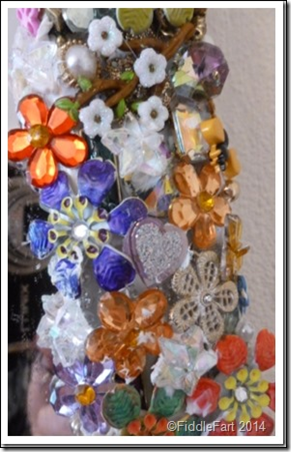
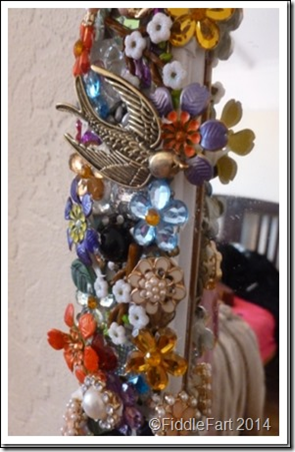
The frame also was slightly curved and made up of too many small bevels, so I had to create a bottom layer made up of big, plainer jewels to form a base on to which to build the next layer, but despite this it still proved to be a little fiddly with a lot of gems having to be set at a jaunty angle.
jewelled mirror 2jewelled mirror 3
However on the positive side, the layers have added a very interesting depth of what lurks beneath!
Picture23
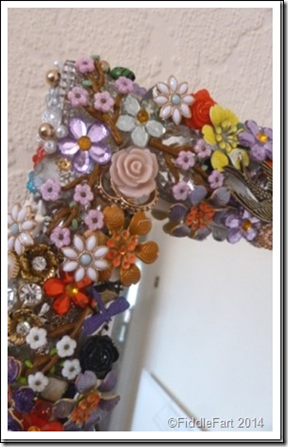
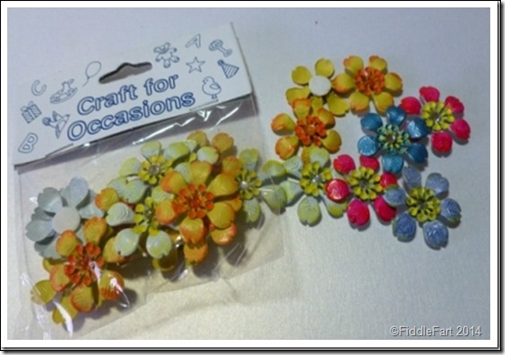
I also found I had to order a few bits and pieces from E-bay, despite my determined intention to be more economical by using all the stuff I had left from my other mirrors, but I was really was using the “dregs” and it was hard to create just a very basic symetary which I like my mirrors to have. I had used the metal flowers (above) on mirrors before, but was not too keen on the colours, but this time round I found that they could be transformed by using  Promarker pens on them!  I only wished I’d tried dipping them in my Melting Pot into clear Utee to see how they would have turned out.  The flowers were on a buy two get one free offer which was an added bonus.
jewelled mirror 4jewelled mirror 5
I was also amazed by how many of the card making embellishments I managed to rustle up from my drawers (if you’ll pardon the expression), were transformed when used on a completely different media,  especially now that I have broken my golden rule of not mixing metals and plastics, it became a case of anything goes.  I know these mirrors are not everyone’s cup of tea  ….  but they are very me!
Picture28
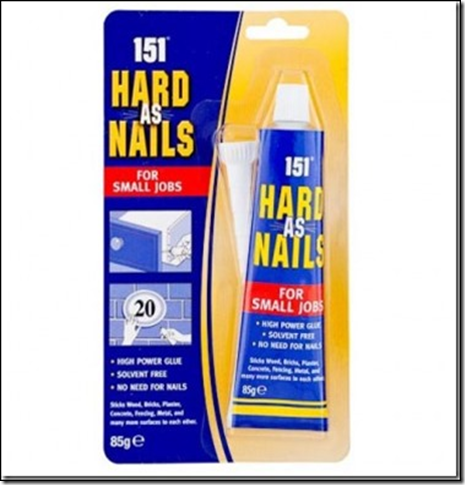
I also saved quite a bit of money by using Pound Land Hard as Nail glue, instead of the more expensive E6000, it does dry white …. but on the white frame it didn’t really matter.
I think it will be a while before I make another large mirror …… they really are a labour of love …. but I have so many people asking for one, I expect I will relent at some time. 
Picture29
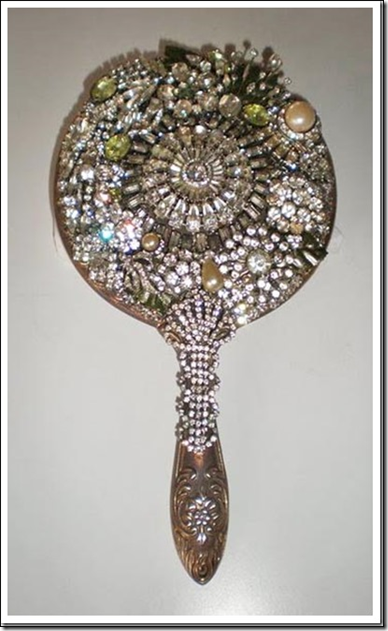
The only thing I have left, that I really want to do, is to decorate a hand mirror for my boudoir dressing table ….. now that would look sooooooo romantic however, they are a bit expensive on E-bay and often come in sets ……. and I can’t ever recall seeing one in a charity shop, but I am now a woman on a mission wanting to spend no more than £3!!!!!!!