I think this is what you call a diorama???? I have seen them so may times on Pinterest but never thought I could ever be able to make one until recently.
I was looking through my box of saved wooden trays (the sort embellishments come in) and wondered what I could do with them and then I thought diorama. I did a little "pinning" and finally felt brave enough to tackle one!
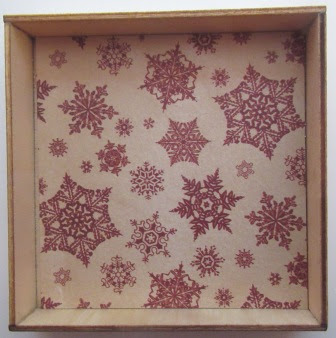
I started by covering the back of a tray with suitable festive paper, the proportions of which I thought would go with the size of bottle brush tree I planned to use and the snowman I was going to make.
I used Martha Stewart paper clay to hold the tree in position, with a good dollop of glue and added some white glitter card to act as a snowy background. This, at the time was all very much on the hoof.
I then built up the background "scene" using scraps of other Christmas papers ..........
........ plus tiny stickers that I already had. In the end I decided not to use the "believe" embellishment as the snowman's hat I made later covered part of it up.
I replaced it with "Let it Snow" using letters taken from a Tim Holtz Idea-ology Label Letters pad.
I trimmed the bristles on the back of the bottle brush tree so that it would fit and lay flat against the back of the decorated tray and then decorated it with flat back gems and an iridescent flat back star on the top.
I then added a pelmet to the top of the tray using a scrap of card, which I proceeded to cover with several layers of Dovecraft 3D Pearl Effects (£1 Poundland) and small, plastic snowflakes in the corners.
White iridescent micro glitter was added to the paper snow along the bottom and little flat back gems to the centre of the snowflakes.
Adding the snowman was the final touch. My apologies, as I forgot to take pictures of him during the making process, doh! I used white Das baking clay for his body, red for his scarf and black for his hat, keeping things really simple as I am no modeller. I used black flat back gems for his eyes and buttons, twisted wire for his arms and a cut down 3D paper embellishment for the holly on his hat, after he came out of the oven.
I am really chuffed with how the whole thing turned out. Now I have worked out the best way to make more, that's what I plan to do ...... the white clay and some more Christmas trees are already on order. Unfortunately I don't have any more trays of the same size ........ but I have an idea, that I am hoping will work, so watch this space ........... for my Christmas dioramas part two!


