I used my Sizzix/Stampin Up matchbox die to make the box and simply glued a standard craft/lolly stick, which was in just the right proportion, to the back of the drawer.
When I mess about trying to decide where to put the tiniest and most insignificant of flat back gem I call it Fiddle Farting, hence the name of the blog!!!
Thursday, 27 July 2017
Matchbox Lollipop Favour
This is not my idea, I found it on Pinterest and I thought I just had to have a go.
This first effort was done very quickly, just to see if it would work, hence it is very plain, but it would be so easy to add stripes using tape or sprinkles etc. to make the boxes look more realistic
So, simple but effective, I am already thinking Halloween!
Wednesday, 26 July 2017
Shop Shop Shopping in Evesham
Today, an object of desire, a considered purchase and the one that got away ………..
I just fell in love with this mirror …….. but, had I got a space for it (which I don’t) it was made of, I think, cast iron, so it would have undoubtedly taken down whatever wall I had the urge to hang it on. At £150 I thought it was a bargain, but on this occasion not for me or my walls. Please excuse my flip flopped feet, I am desperately trying to break in a pair of Sketchers for my walks back and forth to nursery, after 20 mins I has two blisters, I knew I would, so the flip flops were thankfully packed in my shopping trolley for such an anticipated discomfort! I HATE shoes with a vengeance!
I did however buy a set of six matching pressed glass sundae dishes, something I have been looking for for ages to go with my old fashioned Royal Doulton Minden dinner service for strawberries and cream. These were perfect and at just 20p each, it’s sinful really! They had at least another eight, and I am sort of regretting not getting another two for when I have a few extra guests, but hey ho! And the one that got away? ……….
…….. this humungous “wooden” bowl, perfect for Decopatching ……. and only £2, but just too huge to keep anywhere in my bijoux flat, I don’t even have any space left under the beds anymore. I can hear Marc saying now, “ ….. you should have bought that gal, £2? Oh my god!” I tell you, it was so big you could have turned it into a coffee table, and I dare say I will one day regret not buying it, if only to store in Marc’s garage at the cottage for us to work on one weekend, again, another hey ho moment!
Tuesday, 25 July 2017
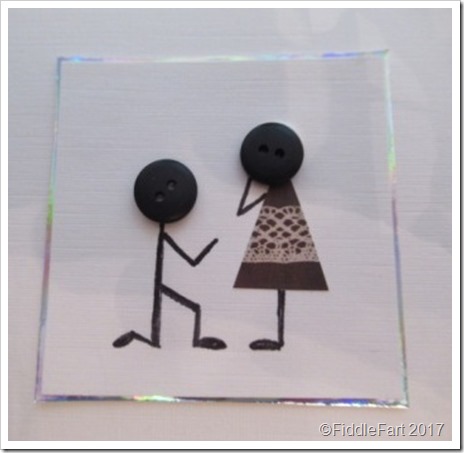
An Engagement Card
My nephew has just got engaged, much to the excitement of ALL the family. They are a very unfussy couple, so I knew a plain congratulations card was probably the way to go. The original idea behind the card isn’t mine, I found it on Pinterest and saved it on my “Inspiration” board thinking it was an idea that I could adapt at sometime in the future.
I started with the centre, with two black buttons, knowing that I needed to get the dress and bodies roughly in proportion to them. I drew arms and legs very lightly in pencil first and then when happy went over them again with a black fine liner pen, rubbing the pencil marks out after.
Naturally, I have volunteered to help make any wedding paraphernalia when the time comes, if they want me to and to help keep costs down, so no doubt I will now be adding wedding invitations and save the date ideas etc. on my Pinterest Inspiration board in the coming months……….
Sunday, 23 July 2017
Christmas Houses Craft Stick Tree Decoration.
Another craft stick Christmas tree decoration today, as I am on a bit of a roll with them.
The frame is made from two standard craft sticks and two mini ones, glued together and edged with faux stitching using a black fine liner pen.
I made the background using a scrap of glittery starry sky design paper and a scrap of white glitter paper.
I then stuck the houses into the frame, the three fit perfectly.
On the back I used red cotton thread to hang the frame from, covering the ends by sticking another scrap of card over it, which I then edged again with my ever faithful fine liner pen.
The laser cut wooden houses came from an assorted boxed set that I think I got from e-bay. I stuck tiny scraps of yellow and red paper on the back of them, so that the windows and doors showed up as yellow and the hearts and flourishes red, a bit of a fiddle fart but I think worth it.
I have to be honest, I am not 100% about the holly, it goes, I know, but isn’t quite to my taste, so I have ordered some 6mm red buttons for the corners (and other projects) to see if they give the more homely, county-fied look I am after.
Friday, 21 July 2017
Craft Stick Christmas Gingerbread Men Tags
Not a lot to these tags made using mini craft sticks frames and self adhesive gingerbread men stickers.
These tags came about when I was just mooching through my Christmas box of bits and found some small craft stick frames that I had put together but didn’t know what to do with.
I then found the foam gingerbread men and started to wonder if I could put the two together ………
For me gingerbread men and gingham are a must together and fortunately I had some small scraps of red gingham card that fit perfectly at the back of the frame. From here, I knew where I was going with the idea, faux stitching using a black fine liner pen all round the frame edges
Next came the gingerbread man, followed by two tiny green buttons to sort of balance the design.
I then drilled a small hole in the top corner of the tag, put a jump ring through it and then tied some red butchers twine so that the tags could be attached to a parcel or hung on the Christmas tree. The back was finished off by edging with a fine liner pen again, so that a greeting can be added when/if needed. Viola!
Wednesday, 19 July 2017
Foil Embossed Snowman Tags.
I thought I would try out my new White and Gray Big Shot with a little embossing to make this tags.
I glued the embossed sections onto children’s wooden dominoes using E6000 glue as I needed a strong bond, and don’t think PVA would have been strong enough. When dry, I drilled a small hole in the corner for a tying thread/wire.
As I said, I think these tags look much better in the flesh, but could be fine tuned just a little bit more ……. so perhaps it’s a case of watch this space!
Monday, 17 July 2017
Twas The Night Before Christmas Tree Decoration.
This idea was originally going to be a Christmas card, but then I got side tracked by other bits and pieces I found in my boxes ………..
…… but after four years I finally say that I have to used the Martha Stewart Crafters Clay I bought in Michael’s in Las Vegas!
I roughly fitted things together and worked out the area where I needed to hand write the first line of the poem so that the mouse fitted neatly over it.
I edged the frame with faux stitching using a black fine liner pen. Deciding that the mouse didn’t look right left white, he took on a completely different character when I coloured him using a brown Promarker pen. I then glued him onto the frame, holding him in place with a few small pegs while the glue dried.
I was crafting with Iris, and we went halves on the clay, she wanted to make gingerbread men and when I had a mooch through her cutters I decided that I would make some mice, thinking I could make a card along the lines of Twas the Night Before Christmas ……..
The clay was very, very light and I think is made from some sort of paper product(?). I started with the mouse, adding a nose, and eye, whiskers and ribbon. I had a card blank ready, but then I found some craft stick frames I had made a while ago and got to thinking ……..
I used red bakers twine to hang the decoration by, covering the ends over with a scrap of white card and edging again with a black fine liner pen.
Saturday, 15 July 2017
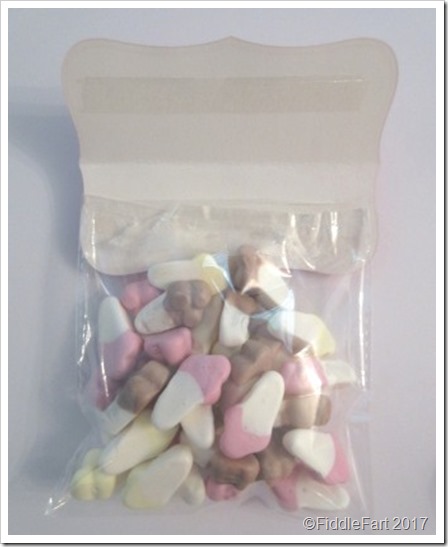
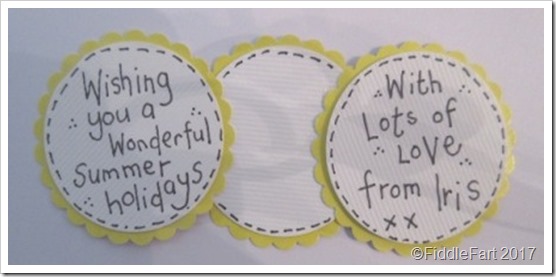
Iris’s End Of Term Sweetie Bag Presents.
Iris completes her first term at morning nursery in a couple of weeks time and I said I would make a few sweetie bags as a Thank You to all the fantastic staff.
Subscribe to:
Posts (Atom)