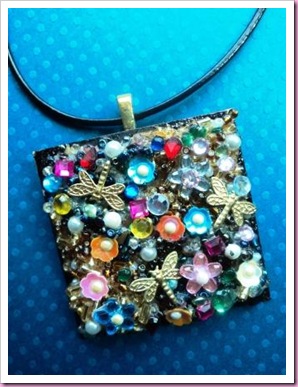
Oh my life, I’ve just discovered Liquid Beadz! I know they have been around for ages, but it was only when I saw them reduced in HobbyCraft that I decided that 29p was neither here nor there to have a little play, ….. well, now I am addicted and wish I had bought a couple more pots! Typical!

The instructions were very simple to follow ….

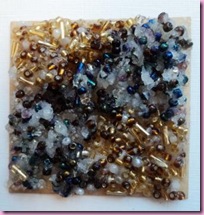
For this first attempt I cut a 2 ins square of strong card and covered it with a mixture of Midnight and Topaz Beadz with a spatula (not supplied). They didn’t feel that sticky, but held onto the card well. I then decided to embellish the Beadz with other gems and charms I had by pushing them into the Beadz base, but admit to using a bit of extra PVA with them, just in case they didn’t stick, and since it dries clear, nothing would be lost.

It looked a bit of a mess when wet as you can see in the picture above.

But when dry I was thrilled with the results.
I wasn’t sure what to do with this first experiment, but in the end decided to turn it into a pendant. I coloured the little bits of card still showing on the front and the whole of the back in black, and then sealed the back using Anita’s 3D clear gloss and added a flat back bail.
I’m not sure how wearable/durable it will be, but I can always turn it into a fridge magnet later. However, as I like the end result, I will invest in a couple of proper pendant bases to make a more “professional” piece of jewellery next time.


