Monday, 19 October 2020

Halloween Haunted House Skeleton Tree Decorations

I can’t tell you how much I adored putting these little Halloween decorations together, when you’ve had a barren crafty patch like I have had, something like this can really put you back on track again.

Yes, the idea is very similar to other house type decorations I have made over the past few months, but I these are my favourite by far.  The houses are made using small, coloured craft sticks from Hobbycraft (pack of 50 assorted colours for £1)

The MDF skeletons came from eBay, the ones used measure 40mm and 30mm, I also got some that measure 20mm, they are teeny tiny but I have yet to find a project for them.  The heads are separate from the body which gives you a little wriggle room to pose them. I gave the skeletons two coats of white Posca pen followed by another two, using an iridescent Spectrum Noir Sparkle pen to give them an extra spooky twinkle.  The MDF bats were also from eBay and were coloured black and then given two tiny, green nail art eyes.

IMG_7515IMG_7517IMG_7518

I added the skeletons to the house and then added the green Dovecraft Enamel Effects to the roof and shelf, it has been my top find of 2020, it’s brilliant, it goes on like a dream and the shiny, gloopy effect it gives to any Halloween project is just fantastic and makes the piece.

IMG_7534IMG_7535IMG_7536

While the Enamel Effects was still wet I was able to add the bats knowing that they would be well secured.

The whole thing was finished off with three white dots on the bats, and five tiny silver stars scattered in the background.

IMG_7539

On the back I added a confetti web and spider, a silver bail so that the decoration could be hung and for continuity coloured the back of the bats black and the skeletons white.

IMG_7533

I think I have said over the years but I just love the purples, yellows, oranges, and greens generally associated with Halloween, if I could find a way of using them for Christmas I would, without being/looking disrespectful to the celebration ……. but green snow ……. hmmmmm!

Wednesday, 14 October 2020

It’s Beginning to Look Like Halloween ………

You may remember last October when I was musing that if money was no object I would really love some Halloween bedding ……… well …….

IMG_7554

……. look what Marc went and bought me!!!!  What can I say, except that I love that boy to death …….  but obviously in a purely platonic way!!!!!!!  It looks fantastic.

IMG_7555

I am slowly getting ready for my Halloween Sleepover with Iris and Bertie and this just the perfect finishing touch, even if my blow-up skeleton is having a tough time staying fully inflated.

IMG_7558

I think I have kept things pretty tasteful, not too over the top,  but enough, hopefully, for Halloween memories at Nanny’s to be cemented. 

IMG_7559

There will be crackers to pull, a treasure hunt and midnight walk with hot chocolate, biscuits, torches and this year light up bouncing balls, spooky Halloween type treats, a suitable film and lots of Halloween stories (if the Charity Shop prevail), among other things.

IMG_7560

It’s been such a rubbish year with this retched virus, when we spent far too many days apart without a single kiss, cuddle or snuggle, time that can never be got back ……..

IMG_7561

……  so we have an awful lot to make up.

Tuesday, 13 October 2020

Object of Desire–Beaded Lamp Shade

This is the lampshade I spotted in the Acardo Lounge Cafe Bar while visiting Christchurch the other week ………

IMG_7283

……. it’s exactly what I want to go on the old fashioned standard lamp Rick and Marc gave me during my last visit to their Worcester cottage ……..IMG_7281

…….it’s perfect, it’s fringed, it’s beaded, it’s braided and it’s not for sale, just standing there, behind a pillar, probably unnoticed and unlusted over, except by me ……. aghhhhhh. I would have offered at least £40 for it, if I had been brave enough!  Oh well, the search for my perfect lampshade continues ……….

Monday, 12 October 2020

2020 Decorated Elizabeth Shaw Mint Favours

Christmas just wouldn’t be Christmas without a few decorated Elizabeth Shaw mints and this year, as you can see I have started really early, with this flipping virus you just don’t know when/if you’ll be able to get to the shops to get the things you had planned for or even want to, if you have to queue outside as the cold, wet weather closes in.


The puffy stickers used came from The Range, costing £1 for a pack of 24 stickers. 

Elizabeth Shaw Mint CRisps

The stickers are a little smaller than those I have used in the past, which is why I in turn used a smaller circle punch to cut the gold mirror card, rather than my usual bigger, plain Stampin Up punch …….

IMG_7483

The gold card gave the stickers a very fine gold border which helped give them just a touch more glitz. 

IMG_7484

The matted stickers were then layered onto a scalloped edge circle ……..

IMG_7487

…….. to which I added either white gel pen or red fine liner doodled dots to decorate the edge of the scallops.

The mints were then sandwiched between two identical scalloped circles.

It’s become a bit of a tradition to send Marc a box of decorated mints for his festive table, but as I wanted to use all the stickers up in one go I still had quite a few left over, which I was initially just going to bag up simply in small cello bags in sets of three ……..


……. but to be honest they looked as if I hadn’t given them that much thought, so I decided to cut two pieces of gold card for each bag, taping them together to make them double sided ………


…… before adding a red glitter sentiment sticker on the back (Hobbycraft 2019 I think) to complete the much more festive look.  These little favours will then be tucked into cards, as well as being given, with other small fairing gifts, to the staff in both Iris and Bertie’s classes. 

I used my vacuum sealer to seal all the bags before putting them away to ensure that the contents remain fresh and untouched in the coming weeks before Christmas.

Wednesday, 7 October 2020

A Blast From The Past

When I saw this “vintage” sewing box in the Salvation Army Shop in Evesham it was as if I had been suddenly whisked away and transported, some 58 odd years, to the Christmas’s of my childhood. 

Vintage Childrens Sweing Set Box

As I stood there it was soooooooooo spooky!  I must have had couple of these boxes when I was small from various Aunties and Uncles.  I know it sounds weird but I could feel the wonderment of receiving it, carefully looking at all the  pieces, I could even feel the texture of how the cotton reels felt in my small hands and smell the smells surrounding me.  It was a thing of awe and beauty.  I can remember playing “Blue Peter” under the Christmas tree, on the table, telling the viewers all about it. Sadly, I don’t think anyone ever actually sat down with me to show me how to use everything, but I remember my lovely Grandma showing me how to knit as I got older.

It’s weird how sometimes I can’t even remember what I did yesterday, yet this box triggered so many memories of when I was about 4 or 5 were so vividly, like I said, even the smells.  Which in turn makes me wonder what Iris and Bertie will remember from their childhood when they are in their 60’s and why it is so important to lay them.

Tuesday, 6 October 2020

Guest Crafter–Iris Roo …….

When I meet Iris in town at the start of a ‘Big Girls Sleepover’ it goes without saying that I am going to be dragged into The Works to look for ‘craft stuff’ and it’s also times like this that I know my work here is done!!! Let’s just say my purse was considerably lighter when we left.

5052089284401_Z

One of the things Iris set her heart on a pack of 60, white, wooden puzzle pieces (£3).

IMG_7457IMG_7458

As soon as we got back to my flat she immediately set to work, first fixing a good few pieces together and then planning what she was going to draw on them to make a ‘proper’ puzzle ……..

IMG_7459

…… which was a subject very close to her heart at the moment, I.e The Tooth Fairy, as she has her first two wobbly teeth.

IMG_7471

It turned out, erm …… very black, as Tooth Fairies only come out at night, but I think you can just about pick Iris out in bed, said glowing yellow Tooth Fairy and Iris’s green lamp lighting her way! I did point out that the puzzle, with so many black pieces might be hard to put back together, but what do I know?

IMG_7469

It’s a just fortunate that I had the foresight to take a picture to show her mum and dad what she’d been up to, is all I can say ……….

IMG_7470

Happy Day!

Monday, 5 October 2020

My First Attempt At Felting And A House For A Hedgehog.

I have never done felting before because, to be honest, it’s never been of any interest to me …….  until, that is, a trip to The Works with Iris (more in tomorrows post), when she just popped a kit in my/her basket.

IMG_7464

I am not even sure if this is real proper felting, because it has a polystyrene middle that you bodge the wool into and I thought true felting was just wool?

IMG_7461IMG_7462

Anyway, once back at Nanny’s, Iris had other crafty things to occupy her and since I was a bit of a spare part I decided to have a look at said hedgehog, it quickly became obvious that this was a might fiddly for Iris and judging by my bodged and bloody fingers when I had finished, not the most ideal activity for a little one.

IMG_7466

However, I don’t think I dun too bad ……..

IMG_7463

The only thing I did “wrong” was lose the stem to the flower, which is why Madam Hedgehog is now wearing it in her hair.

IMG_7474

Seeing my finished effort persuaded Iris that Madam Hedgehog now needed a house (all her toys seem to need a house), so a washing tablet box was duly turned inside out, wallpapered and carpeted and then decorated on the outside by Iris, with a little help colouring the bricks from Nanny ……..

IMG_7475

…… there was much concentration on both parts ……..

IMG_7477

………. until No.18, with its cabbage patches and fish pond …….

IMG_7479

……….. was ready, complete with bed, for Madam Hedgehog to take possession!

Wednesday, 30 September 2020

Diamond Painting Tool Kit

This post is for (long time lurker) Marie who asked me where Marc got the little pick up tool set I used used on my subtle jewelled cards - http://itsallfiddlefart.blogspot.com/2020_09_22_archive.html. 


I had a mooch and found that it's categorized as a 5D Diamond Painting Tool Kit and if you put the words into an eBay search quite a few come up that are available from UK companies priced at around  £5.99, but it's worth shopping around to see if you can get one even cheaper.

https://www.ebay.co.uk/itm/DIY-5D-Drill-Diamond-Embroidery-Painting-Art-Tools-Kit-Cross-Stitch-Accessories/402347458826?hash=item5dadc7010a:g:U6QAAOSwMoRfJn9h

Knowing Marc I reckon he got his from China for considerably less, at around the £2 mark, it just depends if you are happy to wait two or three weeks instead of a couple of days.  

I have bought quite a lot from China this year because of the prices and bulk available, i.e 40 mini wood peg dolls for £4.91 and in some cases the parcels have arrived within two weeks.

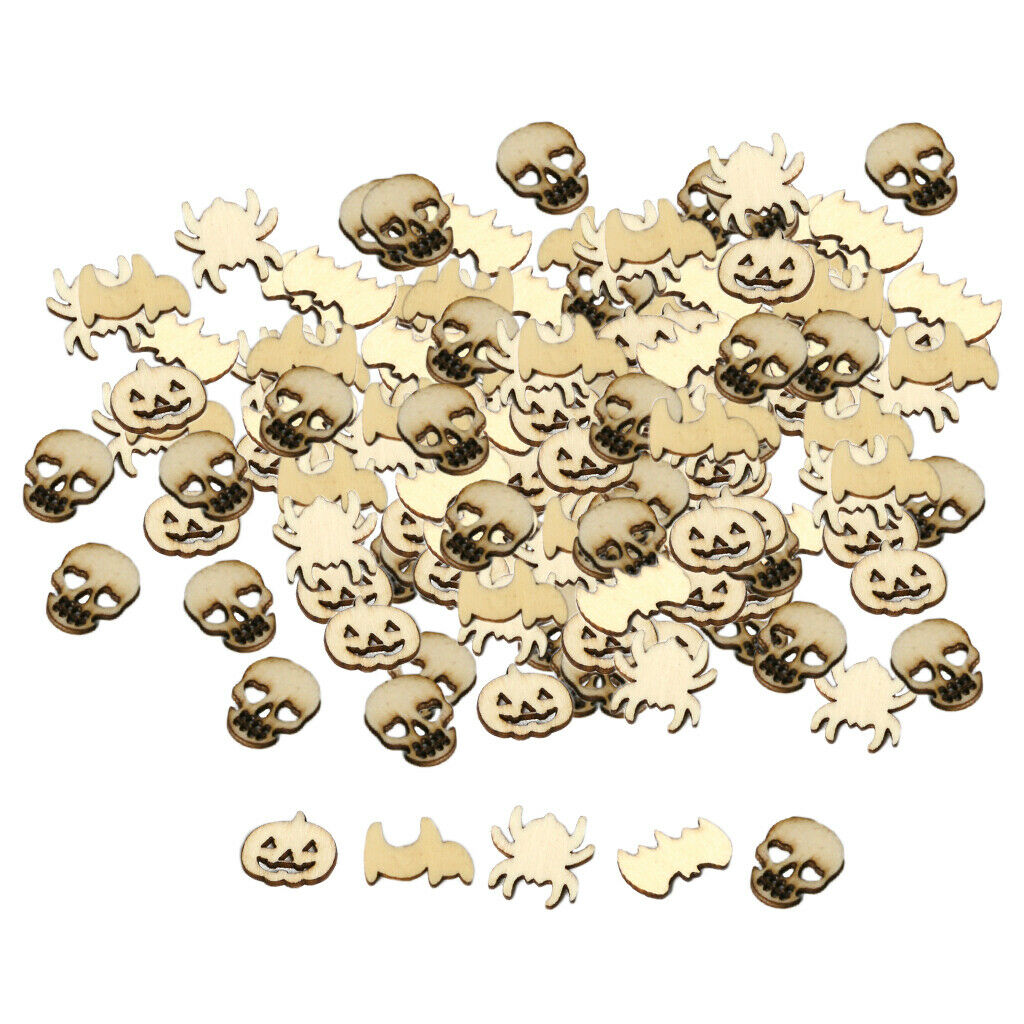
One of my favourite buys this year has been a bag of 150 wooden laser cut Halloween shapes for just £3.97 inc P & P.  I haven't used them yet, but again I am thinking badge/pin brooches or a nine square card?

Tuesday, 29 September 2020

Charity Shop Finds - Jewelled Lamp Shade

I am having a bit of a barren spell at the moment, which is really annoying, especially after having a really productive month or two, where it seemed I had Christmas almost in the bag, however a few days and a couple of weekends away, followed by the desperate need to sort The Towers out from floor to ceiling in favour of crafting has sadly dammed the creative flow ......... so for a little while I might only be posting once a week, on a Monday, until the dam breaks, it might not be a crafty post, it might be a charity shop find or object of desire, just to keep things going until I get the old fiddle fart urges coming back ........ of which, I am sure, they will!

Marc and Rick gave me an old fashioned, painted, wooden lamp stand, something I have wanted for quite a while as the Ikea lamp I bought not long after I moved in to The Towers didn't really go.  The lampshade with the lamp wasn't my style, I have set my heart on something vintage, fringed and beaded, so I know I will have to bide my time and save those pennies as it aint going to be cheap. I  did find exactly what I had in mind at the recent Malvern Antiques and Flea Market, but as I picked it up to admire it, the stall holder shouted "Sorry Love that's already sold!"  Just my luck, but while I am still looking I am simply going to put one of those new vintage filament style light bulbs in it to shine the light.

BUT, I thought you'd like to see this,as it made me smile, found in my favourite charity shop in Evesham, Vale Wildlife, where the prices are perfect, and allow you a bit of whimsy, without breaking the bank.

Ta da ....... behold this wonder confection, in deep purple with a very shiny gold lining and the reason why I picked it up, forty eight long strands of beads, clear and coloured, the red ones oddly glass, while the others were plastic.  If it had been a bit bigger I might have left it where it was for a while, but then again, you know me and proportion! 


In the end the smaller, clear beads were really grubby and consigned to the bin, as I  have spare strands from other beaded, chandelier type lampshades bought in the past, you can't keep everything ........ but for just 80p I can live with that!!!!!

Monday, 28 September 2020

Revisiting my Ancient Silhouette Machine With a Very Simply Text Design Birthday Card

This card measures 6ins x 6ins and uses a smooth, white, pre-scored blank from a bulk pack bought from Hobbycraft.

A horrendously simple card today, made for my Brother In Laws birthday, but which revives my ancient Silhouette machine, last used seven years ago to make the cheese wedge favour boxes for Tom and Laura’s wedding. http://itsallfiddlefart.blogspot.com/2013/05/my-lovehate-silhouette-relationship-and.html

For the card I just covered the front of the card, which seems to be my go to idea these days, with what I thought was a bright and cheerful design from one of my Works giant origami paper pads ……..


……. and then found a suitably simple birthday sentiment from my Silhouette library to go on it.

If I told you that after seven years of in-action the very first design, a bat, I cut came out perfectly, you’ll then understand my frustration when I proceeded to spend almost the rest of the day wondering why it refused to cut anything else out second time around …… again, as the link above told me, it was all about the registration marks!!  Aghhhh

However, once sorted, all I had to do was stick the design on to the covered card, adding an assortment of different sized silver stars, to make the job a good ‘un. It was a very steep re-learning curve, with a new, updated Silhouette programme to navigate on top!

Now, what, you may ask, possessed me to get out this ancient tool again? Well, to be honest, I gave it away a couple of months ago to a lady in Evesham who was putting together craft packs during lockdown and I asked if she’d be interested in it,  she was and everything was quickly packed up and gone.  Then I’ll be honest, I had a look at the designs I’d accumulated in a past crafting life and felt a few pangs of the minutest regret, but then, as it happened, the lady got back in touch with me a few months later, asking if I would like it back or if she pass it on, I chose to have it back and then vowed to myself that I would try to use it again.

And yes …… I do have the Scan and Cut Marc gave me and yes, I am still frightened of it, which is stupid! Marc admits, he’s forgotten a lot of what he had learned, he has the new all singing, all dancing WiFi version of the Scan and Cut now, so next time we are together we seriously need to play, I know it is easy, all I have to do is sit and watch the basic Scan and Cut tutorials on YouTube making copious notes, before I even get mine out of the box again.

I am always desperate for certain letters for cards and begrudge buying alphabet packs knowing I will then be stuck with letters I won’t use and no vowels, this would be an ideal first project.

I will keep you informed as to how I get on ………..